One of the processes to fulfil the orders is looking for the product storing location. However, this might be time-consuming for those who didn’t mark the location of the product. Therefore, Product Rack enables you to mark down the location or rack information of your product to improve your productivity, efficiency and find the stored products easily.
Step 1: Install Product Rack App
Step 2: Set Up Product Rack Details
Step 4: Assign Product Rack to Respective Products
Step 5: Assign Product Rack to Respective Products Variant (Optional)
1. Access to Unicart > Apps > Add More Apps to search for Product Rack.
2. Then, click into the app and press “Install Now“.

3. Once you have installed, Enable the status and Save.
Step 2: Set Up Rack Group
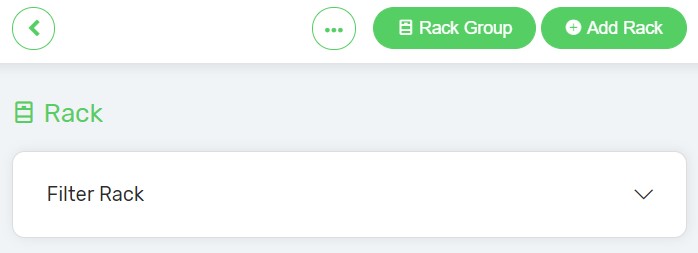
1. Access to Unicart > Products > Rack.
1. Click “Rack Group” to create a Rack Group in order to categorize your product racks.

2. Click “Add Rack Group” on your top right to add new Rack Group.

3. Fill up the Rack Group Name and assign Racks to the Rack List for the particular rack group.
Rack Group Name: The category name of one or more product racks.
Racks: Select the product racks that you wish to group it under the particular rack group. (Can be more than 1 rack)
Rack List: The product racks that has assigned to the particular rack group.

4. Once done, click “Save“.
Step 3: Set Up Product Rack Details
1. Click “Add Rack” on your top right to create a new product rack.
2. Fill up the Rack Name, Rack Group and Sort Order.
Rack Name: The store location name/ Shelf Number/ Rack Name that located your inventory stocks.
Rack Group: Select the rack group that you wish to assign the product rack to.
Sort Order: Arrange the sequence of the product in ascending order to be displayed on the product rack selection list under product page.
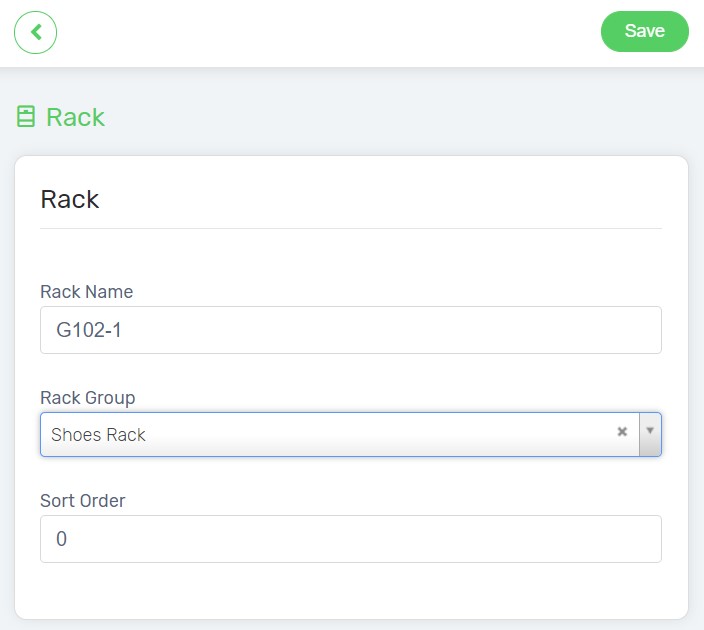
3. Once done, click “Save“.
Step 4: Assign Product Rack to Respective Products
1. Access to Unicart > Products > Products List and access to the respective product page to assign product rack.
2. Click on the dropdown list at Rack to select the rack name of that the respective product located.

3. Then, click “Save“.
Step 5: Assign Product Rack to Respective Products Variant (Optional)
1. Click on “Edit” beside Enable Variants.

2. Scroll to the right to assign the product rack for each variant.

3. Lastly, click “Done” and “Save“.